

What is a Roof’s Drip Edge? A Comprehensive Guide
If you’ve ever looked closely at the edge of a roof, you might have noticed a thin, overhanging strip of metal or plastic.
That unassuming element is known as a roof’s drip edge, and while it might seem inconspicuous, it plays a crucial role in protecting your home from water damage.
In this guide, we’ll delve into the world of roof drip edges, exploring their purpose, benefits, installation, and much more.
What is a Roof’s Drip Edge?
A roof’s drip edge is a narrow strip typically made of metal, PVC, or other durable materials.
It is installed along the edges of a roof, positioned beneath the roofing material and extending slightly over the edge of the roof.
This extension allows water to be directed away from the fascia, preventing it from seeping into the underlying structure.
Why is a Drip Edge Important?
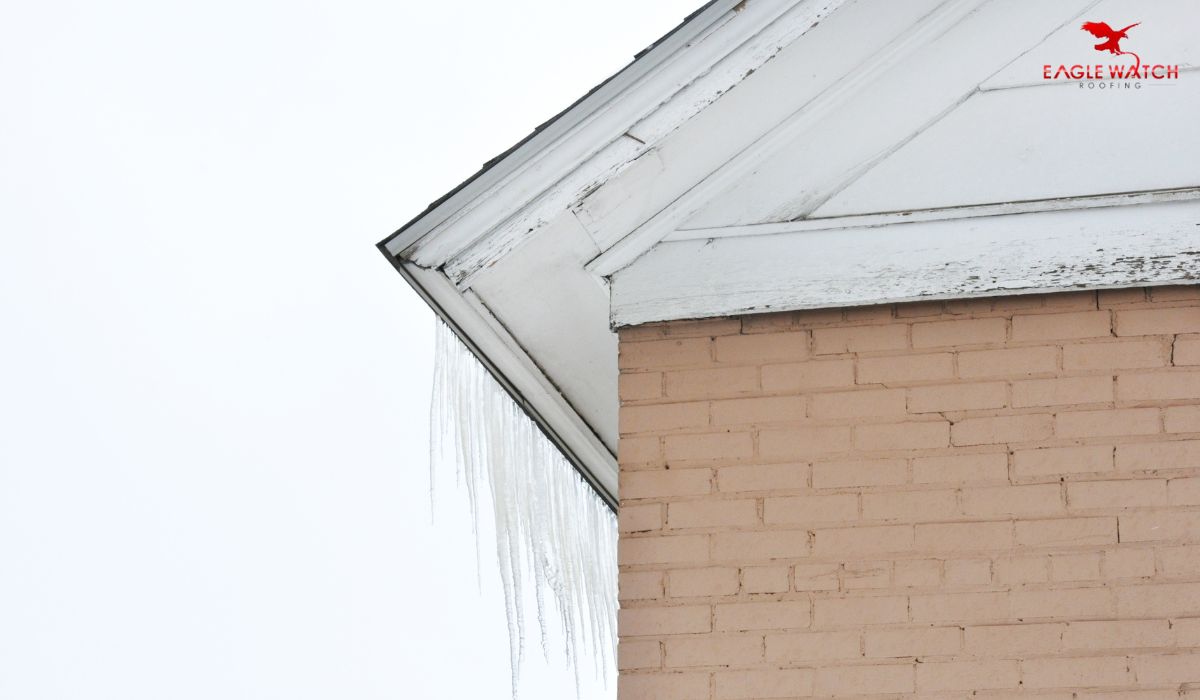
The primary purpose of a drip edge is to channel rainwater away from the roof’s edge, thus safeguarding your home’s structural integrity.
Without a drip edge, water can accumulate along the edge, leading to rot, mold growth, and damage to the fascia and soffit.
Types of Drip Edges
Straight Drip Edge
The straight drip edge is a classic design, featuring a simple, straight profile.
It offers effective water runoff and is often used with asphalt shingles.
L-Shaped Drip Edge
The L-shaped drip edge provides an additional layer of protection by covering both the roof edge and the adjacent fascia.
This design is versatile and compatible with various roofing materials.
T-Shaped Drip Edge
The T-shaped drip edge combines features of the straight and L-shaped designs.
It offers excellent water diversion while also providing coverage for the fascia.
Wide Flange Drip Edge
The wide flange drip edge is designed to accommodate roofs with overhangs.
It has a broader overhang area, making it suitable for regions with heavy rainfall.
Benefits of Installing a Drip Edge
- Water Damage Prevention: The primary benefit of a drip edge is its ability to prevent water damage by directing water away from vulnerable areas.
- Extended Roof Life: By protecting the roof’s edge, a drip edge contributes to the longevity of your roofing system.
- Preservation of Fascia: Drip edges shield the fascia from water exposure, preventing decay and maintaining the aesthetic appeal of your home.
How to Install a Drip Edge
Tools and Materials You’ll Need
Before you begin installing a drip edge, make sure you have the following tools and materials at hand:
- Drip edge material (metal or PVC)
- Measuring tape
- Tin snips or shears
- Hammer
- Roofing nails
- Sealant
- Ladder
- Safety gear (gloves, goggles)
Steps for Installation
Prepare the Roof Deck: Ensure that the roof deck is clean and free of debris.
If needed, replace any damaged or rotten wood.
Measure and Cut: Measure the length of the roof edge and cut the drip edge material accordingly using tin snips or shears.
Start with the Eaves: Begin at the eaves (bottom edge of the roof).
Position the drip edge with the overhanging part facing down and the shorter leg extending onto the roof deck.
Nail the drip edge in place, leaving about an inch of overhang.
Lap Joints: If your roof edge is longer than the length of the drip edge material, you might need to join two pieces.
Overlap the joint by at least 3 inches and secure both pieces with roofing nails.
Install on the Gable Ends: Move on to the gable ends. Install the drip edge similarly, ensuring a proper overhang and alignment with the eaves drip edge.
Secure the Drip Edge: Nail the drip edge every 12-18 inches along both the eaves and gable ends.
Use roofing nails to ensure a secure fit.
Apply Sealant: Once the drip edge is in place, apply a bead of roofing sealant along the top edge to create a watertight seal.
Roofing Material Installation: Install your chosen roofing material over the drip edge, following the manufacturer’s guidelines.
Common Mistakes to Avoid
- Inadequate Overhang: Ensure that the drip edge overhangs adequately to prevent water from getting trapped between the edge and the fascia.
- Improper Alignment: Improperly aligned drip edges can lead to water seepage.
Make sure the drip edge is straight and level.
- Missing Sealant: Skipping the sealant step can lead to leaks.
Apply sealant to create a waterproof barrier.
Maintaining and Repairing Drip Edges
Inspect your drip edges periodically for any damage or signs of wear.
If you notice any issues such as rust, bending, or detachment, it’s important to address them promptly.
Small repairs can prevent larger problems down the line.
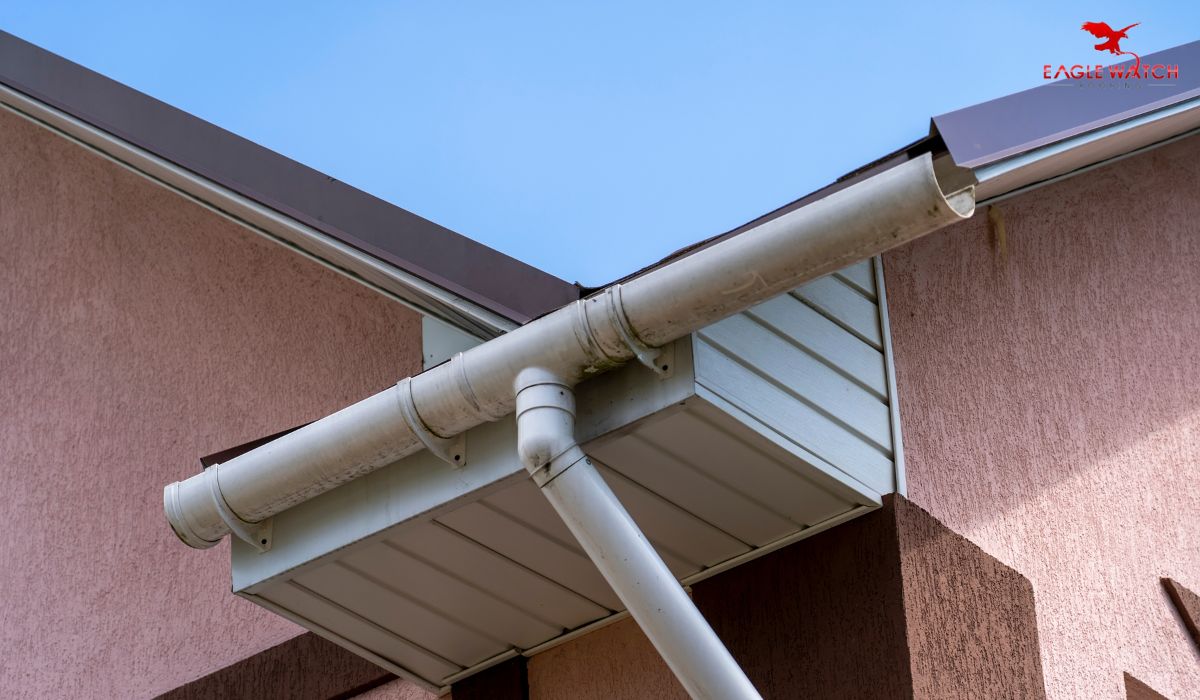
Drip Edges vs. Gutter Aprons
While drip edges direct water away from the roof edge, gutter aprons are extensions of the roofing material that guide water into the gutters.
Both play vital roles in preventing water damage and maintaining your home’s exterior.
Regulations and Building Codes
Many local building codes require the installation of drip edges to ensure proper water drainage and prevent structural damage.
Always check the regulations in your area before undertaking a roofing project.
Enhancing Aesthetics with Drip Edges
Drip edges not only offer functional benefits but also contribute to the overall aesthetics of your home.
Choose a drip edge that complements your roofing material and enhances your curb appeal.
Drip Edges for Different Roofing Materials
Whether you have shingles, metal roofing, or other materials, there’s a suitable drip edge option available.
Consult with a roofing professional to choose the right drip edge for your specific roofing system.
Drip Edges: DIY or Hire a Professional?
While some experienced DIYers can install drip edges themselves, it’s often advisable to hire a professional roofer.
Proper installation requires skill and knowledge to ensure optimal performance.
Cost Considerations
The cost of drip edges varies based on factors such as material, roof size, and labor.
However, considering the long-term protection they provide, drip edges are a cost-effective investment.
Conclusion
In conclusion, a roof’s drip edge is an unsung hero in the battle against water damage.
Its unassuming presence serves as a first line of defense, directing rainwater away from vulnerable areas and preserving the integrity of your home.
Whether you’re building a new roof or upgrading an existing one, don’t underestimate the importance of a properly installed drip edge.
FAQs
What is the purpose of a drip edge?
A drip edge directs rainwater away from the roof edge, preventing water damage and protecting the underlying structure.
Can I install a drip edge myself?
While it’s possible for experienced DIYers, hiring a professional roofer is recommended for proper installation.
Are drip edges required by building codes?
Many local building codes mandate the installation of drip edges to ensure proper drainage and prevent damage.
Do I need a drip edge if I have gutters?
Yes, drip edges and gutters serve different purposes; a drip edge protects the roof edge, while gutters collect and direct water.
Can I paint my drip edge to match my roof?
It’s best to choose a drip edge that already complements your roof material. Painting could affect its performance.